
linux安装gitlab
GitLab 是一个用于仓库管理系统的开源项目,使用Git作为代码管理工具,实现一个自托管的Git项目仓库,可通过Web界面进行访问。
本次安装的是Gitlab社区版12.4.2
一、下载GitLab软件包(社区版)
#gitlab-ce-12.4.2-ce.0.el7.x86_64.rpm
二、安装必要的依赖项
#sudo yum install -y curl policycoreutils-python openssh-server
三、安装
#rpm -ivh gitlab-ce-12.4.2-ce.0.el7.x86_64.rpm
查看gitlab相关目录,命令:find / -name gitlab

目录结构
- /opt/gitlab/ #主目录
- /etc/gitlab/ # 放置配置文件
- /var/opt/gitlab/ #各个组件
- /var/log/gitlab/ # 放置日志文件
- /var/opt/gitlab/git-data/repositories #数据库的地址
- /var/opt/gitlab/postgresql/data #gitlab组和项目的地址
四、需要修改配置如下:
修改配置文件/etc/gitlab/gitlab.rb

1、修改仓库的默认路径
仓库路径 #git_data_dir "/opt/ztlt/gitlab/git-data" 436行
备份路径 #gitlab_rails['backup_path'] = "/opt/ztlt/gitlab/backups" 378行
找到external_url "http://gitlab.com.cn",比如修改成:external_url "http://192.168.1.197:8001"
gitlab-ctl reconfigure 执行初始化配置
2、GitLab服务端口修改
yum方式安装的GitLab的配置文件路径为
/var/opt/gitlab/nginx/conf(其他安装方式的配置文件路径不一定相同,请自行查找)

vim /var/opt/gitlab/nginx/conf/gitlab-http.conf
if ($http_host = "") {
set $http_host_with_default "192.168.52.152:8001";
}
修改完成之后使用gitlab-ctl reconfigure命令重载配置文件即可
五、重新启动Gitlab、设置开机启动
服务开机启动命令:systemctl enable gitlab-runsvdir.service
启动命令:gitlab-ctl start
停止命令:gitlab-ctl stop
重启命令:gitlab-ctl restart
安装后,已经自动安装成开机启动服务
服务启动命令:systemctl start gitlab-runsvdir.service
服务停止命令:systemctl stop gitlab-runsvdir.service
服务重启命令:systemctl restart gitlab-runsvdir.service
服务开机启动命令:systemctl enable gitlab-runsvdir.service
取消开机启动命令:systemctl disable gitlab-runsvdir.service
服务查看命令:systemctl list-unit-files

出现这些ok表示正常已启动
gitlab-rake gitlab:check SANITIZE=true --trace # 检查gitlab;
sudo gitlab-ctl tail # 查看日志;
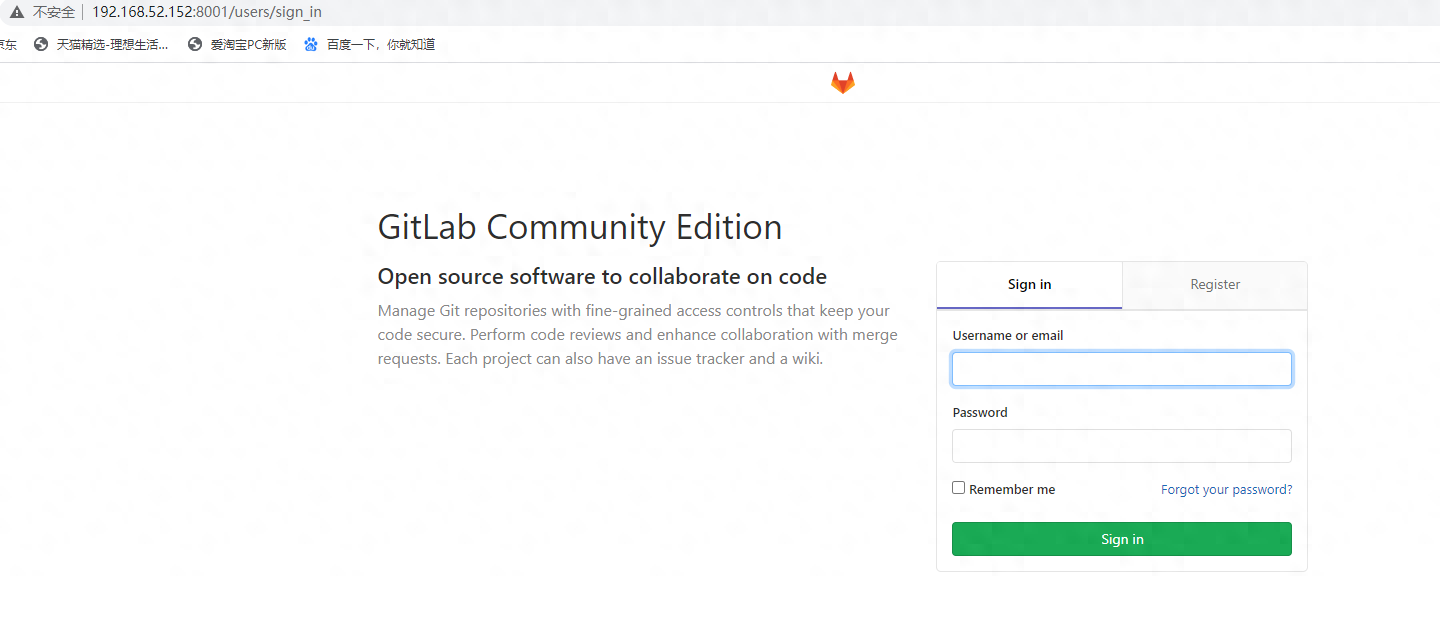
六、首次登陆
设置root密码,注意8位以上
相关推荐
-
 「PHP」MVC框架是什么?为什么要用它2025-02-25 00:25:41
 -
 如何用PHP写一个比较安全的API系统(实现)2025-02-25 00:19:49
 -
php 解析url获取相关信息2025-02-25 00:15:37
-
 mysql命令总结和PyMysql2025-02-25 00:11:35
 -
 MySQL特性:深入理解ICP2025-02-25 00:11:07
